ARK: Survival Ascended for Beginners: Your First Tames and Base
ARK: Survival Ascended for new survivors: picking a start, stats and engrams, early crafting, your first knockout tame and a thatch-to-wood starter base.

ARK: Survival Ascended is Studio Wildcard’s Unreal Engine 5 remaster of ARK: Survival Evolved. It arrived in early access on Steam on October 25, 2023, followed by Xbox Series X|S on November 21 and PlayStation 5 on November 30 of that year, and it later reached the Epic Games Store in October 2025. Like the original, it drops you on an island full of dinosaurs and other creatures with nothing but your bare hands, and asks you to survive, build and eventually tame the very animals that are trying to eat you. This guide covers your first few hours: where to start, how leveling works, what to craft first, and how to land your first tame and build a base that survives the night.
Single player, official or unofficial servers?
Before you spawn, choose how you want to play:
- Single player lets you adjust settings such as taming speed, harvest rates and difficulty. It is the most relaxed way to learn, and the official ARK wiki notes that single-player settings let you earn enough engram points to learn every recipe.
- Official servers are the developer’s own servers and use default rates. They come in PvE and PvP flavors. Official PvP is the harshest environment in the game, as established tribes can raid newcomers.
- Unofficial (community) servers are hosted by players and communities, often with boosted rates, mods and custom rules. Many are friendly to beginners.
Survival Ascended supports cross-platform multiplayer and cross-platform mods, so console and PC players can share servers and modded content. For a first run, single player or a PvE server with boosted rates is the gentlest introduction. Boosted taming and harvesting cut a lot of the grind while you learn.
Spawning and picking a safe start
When you create your survivor, you choose a spawn region on the map. Where the game labels regions by difficulty, start in one marked as easy. Coastal starting areas on the classic map, The Island, are traditionally the calmest, with gentle herbivores nearby and fewer aggressive predators.
Wherever you land, your first goals are the same: gather basic resources, craft simple tools, and avoid anything with large teeth until you can deal with it.
Stats, levels and engrams
Your survivor’s stats
Your character has several attributes: Health, Stamina, Oxygen, Food, Water, Weight, Melee Damage, Movement Speed, Fortitude, Crafting Skill and Torpidity. Food and Water drain over time; running out leads to starvation or dehydration. Weight limits how much you can carry before you slow down. Torpidity represents your weariness; if it maxes out, you are knocked unconscious.
Each time you level up you earn a point to put into a stat. Early on, many players favor Health and Weight (to carry more resources) or Stamina (for running and harvesting). There is no single right build; just avoid spreading points too thinly in the first levels.
Engrams: unlocking recipes
ARK does not give you every recipe at once. Leveling up also grants Engram Points (EP), which you spend to unlock crafting recipes called engrams. Engrams are permanent: they survive death and take up no inventory space. According to the official ARK wiki:
- The stone pick and torch are available at level 1 for free.
- The campfire, spear and stone hatchet unlock at level 2.
- Thatch building pieces (foundation, walls, door) unlock at level 4.
On default multiplayer settings you cannot learn every engram, so think before spending points on niche items.
Early gathering and crafting
Punching trees and bushes gives you wood, thatch and berries. Picking up small stones gives you stone, and gathering from bushes provides fiber. Your first crafts, in a sensible order:
- Stone pick (wood, stone, thatch). Harvests flint and stone from rocks and thatch from trees.
- Stone hatchet. Harvests far more wood from trees, plus meat and hide from creatures.
- Spear. A basic weapon for hunting small animals and defending yourself.
- Campfire. Cook raw meat, which restores more Food and is safer to eat.
- Cloth armor. Basic protection and some insulation from temperature.
- Slingshot or bow when available. Useful for hunting and essential for taming.
Keep an eye on water. Rivers and lakes are the easiest source early on, but some creatures lurk near water, so drink quickly and move on.
Your first knockout tame
Taming is the heart of ARK. Most creatures are tamed by knocking them unconscious and feeding them, a process the community calls a knockout or KO tame.
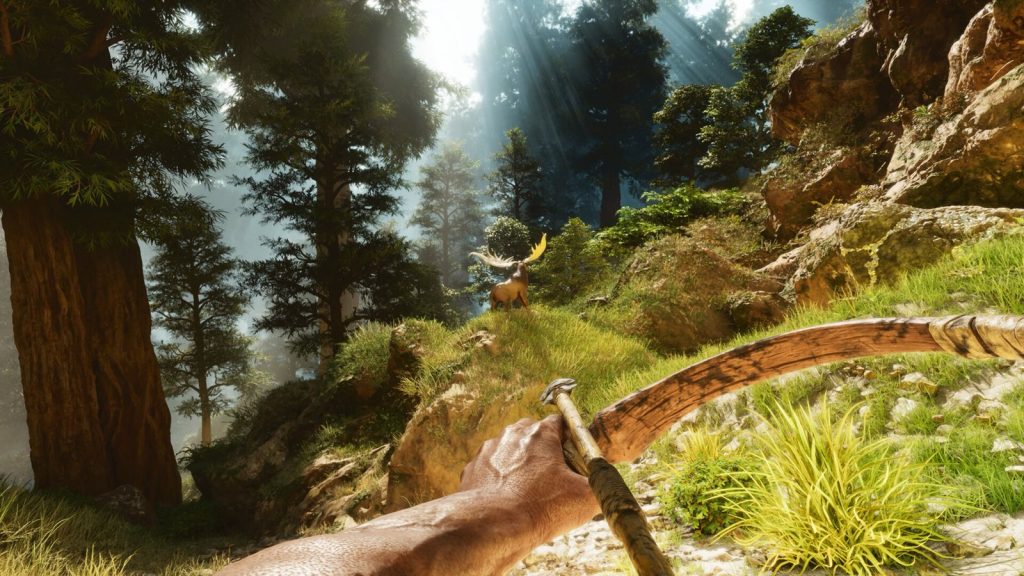
How knockout taming works
- Raise their torpor. Attacks from slingshots, wooden clubs, tranquilizer arrows and similar tools add torpor (unconsciousness) rather than just damage. When torpor fills, the creature falls asleep.
- Feed them. Put the creature’s preferred food into its inventory. It eats over time, and each meal advances the taming bar. Kibble is the best food for most species; berries suit herbivores and meat suits carnivores.
- Keep them asleep. Torpor drops over time. Force-feed narcoberries or narcotics to keep it up. If the creature wakes, it will be angry.
- Protect them. Taming effectiveness falls if the creature takes damage while unconscious, which reduces the bonus levels it gains when tamed. Build a quick barrier or guard it from wandering predators.
A good first target
The official ARK wiki describes the Dilophosaurus as “usually one of the first creatures a survivor tries to tame.” It is territorial but has a small aggro range, can be knocked out with a slingshot or even fists, and prefers Basic Kibble or Raw Mutton. Lower-level creatures in general are quicker and safer to tame, and the wiki specifically suggests targeting low-level animals for early mounts and pack animals such as the Phiomia.
Passive taming
Some creatures are tamed without a knockout. You place their preferred food in your last hotbar slot, approach while they are calm, and feed them by hand, then wait until they are hungry again and repeat. Moving too far away between feedings resets progress.
Building your first base
Your first shelter will be made of thatch, which unlocks around level 4. It is weak but cheap. Build:
- A small square of foundations
- Walls, a roof (ceiling) and a door
- A storage box and a campfire inside
- A sleeping bag or bed for a respawn point
Upgrade to wood as soon as possible. Wooden structures are much sturdier and keep out more wildlife. Build away from predator routes and rivers where big creatures roam. A base on slightly raised ground with your tamed creatures inside a fenced area is a solid first goal.
In PvP, hide your first base well and keep it small. In PvE, other players cannot destroy it, so you can focus on convenience.
Staying alive: common early dangers
- Aggressive predators such as raptors and larger carnivores can chase you down. Learn which creatures in your area flee and which attack.
- Swimming exposes you to aquatic predators. Avoid deep water until you are stronger.
- Temperature matters. Cold nights and hot days drain your stats; clothing and fire help.
- Overweight inventory slows you to a crawl. Drop stone or deposit items before you get stuck.
- Death leaves your items in a bag at your body. Return with spare gear to recover it.
A simple first-day timeline
If you like having a plan, this rough order works on most maps and settings:
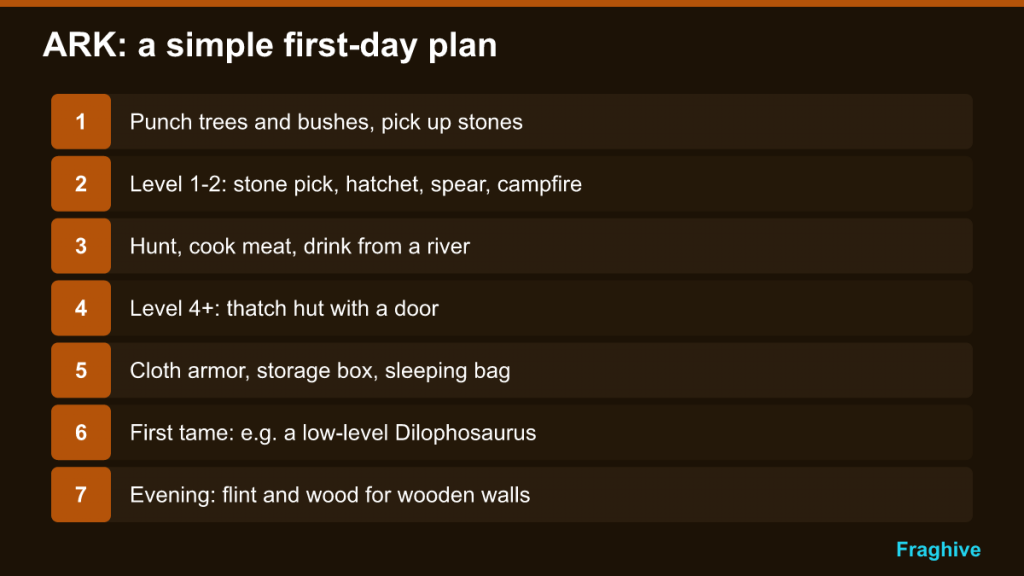
- First minutes: punch trees and bushes for wood, thatch, fiber and berries; pick up stones.
- Level 1–2: craft a stone pick and a stone hatchet, then a spear and a campfire.
- First meal: hunt a docile creature, cook the meat and drink from a river.
- Level 4 and up: unlock thatch building pieces and put up a small hut with a door.
- Next levels: unlock cloth armor, a storage box and a sleeping bag; place the bag inside your hut.
- First tame: once you have a slingshot or bow plus a stack of narcoberries and the right food, pick a low-level target such as a Dilophosaurus.
- Evening: collect flint and wood for an upgrade to wooden structures.
Do not worry if your first day takes longer. Exploring a little and learning which creatures leave you alone is time well spent.
Beginner mistakes to avoid
- Taming a creature far from home with no plan. Bring enough food and narcotics before you start.
- Punching animals during a tame. It keeps torpor up but reduces taming effectiveness.
- Spending engram points on decorations early. Prioritize tools, weapons and building pieces.
- Building in the open. Choose a sheltered spot.
- Ignoring Weight. A few points make gathering trips far more productive.
Quick answers for new survivors
Is Survival Ascended a separate game from Survival Evolved?
Yes. ARK: Survival Evolved fully released in August 2017; Survival Ascended is a separate purchase that rebuilds it in Unreal Engine 5 and brings maps back in remastered form.
Can I lose my tames?
Yes. Tamed creatures can starve, be killed by wild predators or, on PvP servers, be killed by other players. Keep them fed, inside walls where possible, and set them to follow or stay as needed.
What should I do when I die?
Respawn at your sleeping bag or bed, grab spare tools from your storage box, and head back carefully to your body to recover your items before they disappear.
ARK’s survival basics overlap with other crafting games we cover, such as Valheim and Rust, but its creature taming system gives it a unique long-term goal. Your first Dilophosaurus or Phiomia is just the start.